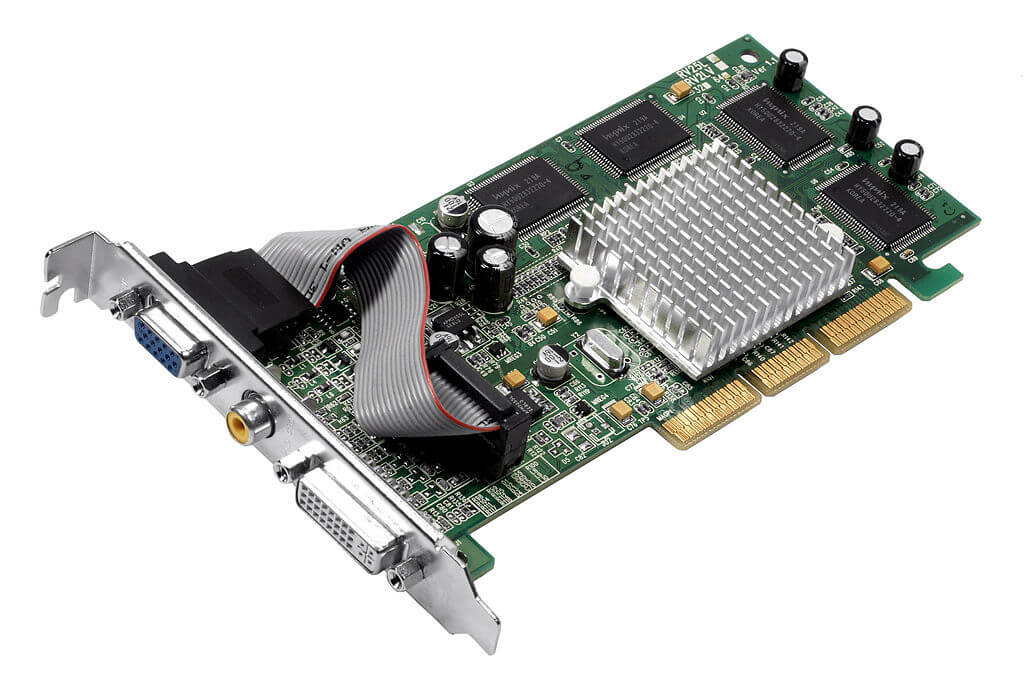
A graphics card is simply a piece of hardware which connects and sends data to the display screen of your laptop. The quality of the videos displayed on your laptop’s screen is largely depend on this graphic card. You can checkout our article on how the graphics processing unit of a graphic card works here. In general, most of the computers use PCI or PCI Express graphics cards. Installing a graphics card is one of the easiest process in the hardware installations that you can perform on a laptop .
Also See: Common FAQs on Graphic Cards
Things You Need :
- A Phillips screwdriver
- A flat screwdriver
-
A wrist strap
Steps You Need To Follow To Change The Graphics Card of a laptop:
Step 1 : Turn off your laptop, unplug the power cord, remove the battery and disconnect all cables and any external device .
Step 2 : Wear an anti-static wrist strap on your wrist, and then place the cable clip on the outer casing of the laptop. This will help you to avoid static electricity discharge.
Step 3 : Open the laptop up to the stop. Use the small flat-head screwdriver to lift the keyboard cover . This cover is basically a small plastic strip located between the keyboard and LCD screen.Remove the cover from the keyboard and keep it aside.
Step 4 : Remove the Phillips head screws securing the keyboard to the portable structure. Pick it up and place it face down on the rest of the notebook. Disconnect the keyboard ribbon connector from the motherboard and then remove the keyboard of the computer and put it aside.
Step 5 : Disconnect the LCD ribbon connector from the video card .
Step 6 : Remove the screw that secures the heat sink to the motherboard. Lift the heat sink base carefully out of your laptop and then keep it aside .
Step 7 : Remove the four screws holding the video card to the motherboard. Lift the old card out of the the base of the laptop and keep it aside. Now install the new video card by placing it in the compartment of the video card and replace the four screws.
Step 8 : Rearrange the laptop by following the steps from 1 to 6 in reverse order.
Step 9 : Insert the disk that came with the new video card into your CD-ROM. Follow the instructions on the screen to install the driver for the new graphics card in your laptop.
Also See: Best Graphic Cards in the Market
Follow all these steps very carefully and simply that’s it! But be sure you handle everything perfectly.