Many times we may have to move files from one computer to another, say, for printing something or just to watch it. If our computers are not having Bluetooth then we need to move the files to a flash drive or hard disk and later copy them to other devices.
To solve this problem, we have come up with a solution by which you can connect a hard drive to all the computers that are connected to the local network , either by Wi-Fi or Ethernet.
Even If don’t have a hard drive, no need to worry. You can even use a flash drive for this work . What all you need is to have a router compatible with this method.
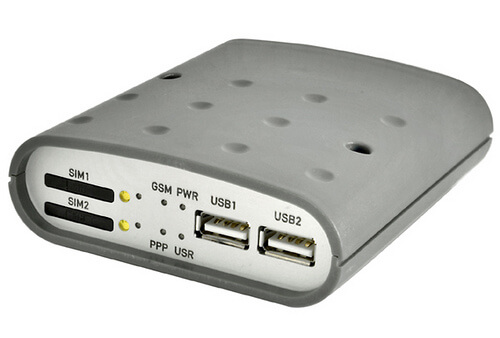
Every Router with a USB input is compatible with this process. Most of the modern Routers have this facility then the old once’s.
Steps To Connect A Hard Drive To Every Computer :
We also need to know the gateway, ie the IP address.
To Check Your IP Address : Follow The Steps Below :
Step 1 : Open Run ( Press ” Windows + R ” to open ) and type cmd in it.

Step 2 : Type ” ipconfig ” in the displayed command prompt.

Step 3 : Now your Default Gateway will be diplayed which is usually something like ” 192.168.1.1 “.
Follow the given below steps to make your computer to recognize the hard disk or pendrive :
Step 1 : Connect the device to the router.
Step 2 : Now open Run and type the default gateway ( i.e the IP address which we got in the first process ).
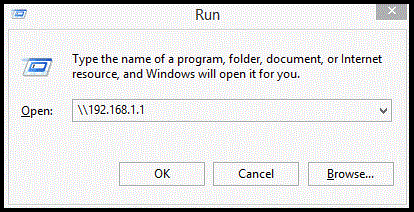
Ex:\\192.168.1.1
Step 3 : Now a dialog box containing folder like usb0_0, usb1_0, and so on will be displayed. Find out the name which is assigned to the flash drive or hard drive to which you want to connect.
Step 4 : Now open ‘My Computer’, you can do it by just pressing ” Windows + E “. Then just right-click on the bottom left and select ” Add a network location ” option.
Step 5 : Now press Next and select the ” choose a custom network location ” Option.
Step 6 : Again press Next and then introduce your gateway i.e type ” \\gateway\usb1_0 “. In this case ” usb1_0 ” is the flash drive folder and gateway is the default IP address.
Ex:\\192.168.1.1\usb1_0
Step 7 : Give a Name to it and press accept.
That’s It. This is something that will save much time if you usually work on multiple computers simultaneously and do not want to use the services like cloud.
Share Your Views In Form Of Comments….