
In general, Every version of Windows offers its users with a number of Font styles. In which we can choose the most appropriate in each case . However, there may be times we get bored of always using the same. Therefore, many websites distributed throughout the internet are offering varieties of new fonts in several languages .We can download and install them to Windows by following the steps given below.
Steps To Download And Install Fonts :
Downloading New Font :
In internet, there are various sites that offer free fonts. This time we have selected ” Font Reactor ” for this work . It is very simple to search and download the fonts using Font reactor. Just type a Word in search section and select all font types option and press enter . Now a list of fonts will be displayed , just click on the font style you like and the font will be downloaded in ZIP file.

The next thing is to unzip the downloaded file . It can be done using any file decompression software such as WinRAR . Now a file with .ttf (or sometimes px) extension will appear in the unzipped folder.
First method for installing the font :
Step 1 : Copy the file located in unzipped folder i.e file with ” .ttf extension ” .
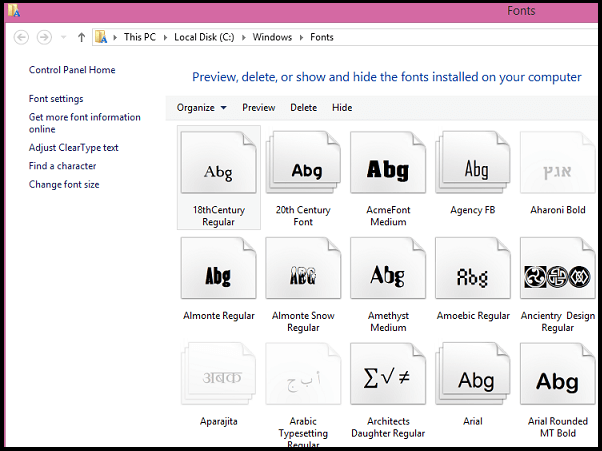
Step 2 : Go to ” C:\Windows\Fonts ” .
Step 3 : Now just paste the file at that path .
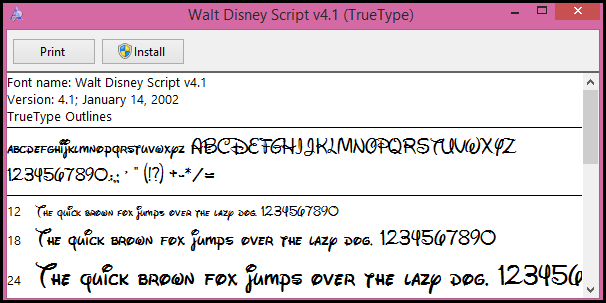
Now an Install dialog box will be displayed , Just click on install button and the font will be installed into your computer .
Second method for installing the font :
This method is quite easier then first one, as it requires one less step than the previous one. Simply double click on the ” .ttf file ” , Then an install dialog box will appear with some writing samples from the source, and at the top you find the install button . Now press install button and the font be installed automatically.
Share Your Views In Form Of Comments…